I have to say, I was somewhat excited when I found I was going to get a chemical peel. Adventures are few and far between when you sit behind a computer screen for most of the day, and for a man, I would say a chemical peel is like the modern day equivalent to fighting a dragon. You really have no idea what to expect, but you imagine at some point it will burn.
I am generally pretty happy with my skin and wasn’t looking for many improvements. I was more interested in what the process of getting a chemical peel is like. So, while I will share my results, the scope of this article is more on the process and experience.
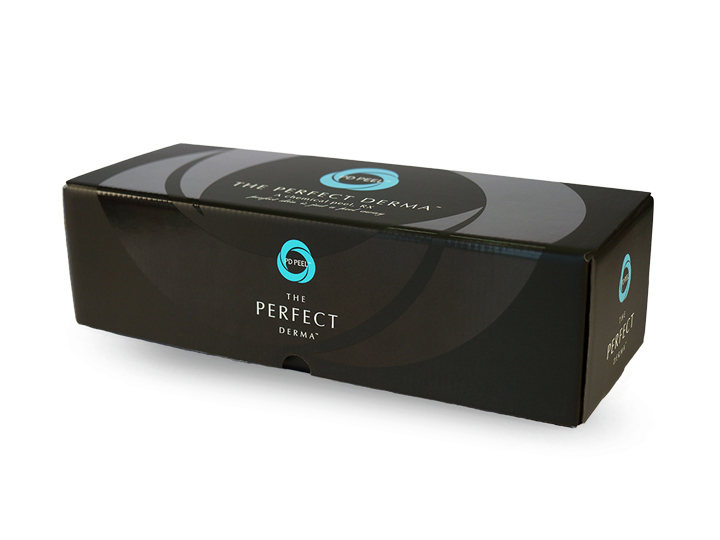
The Perfect Peel Facts
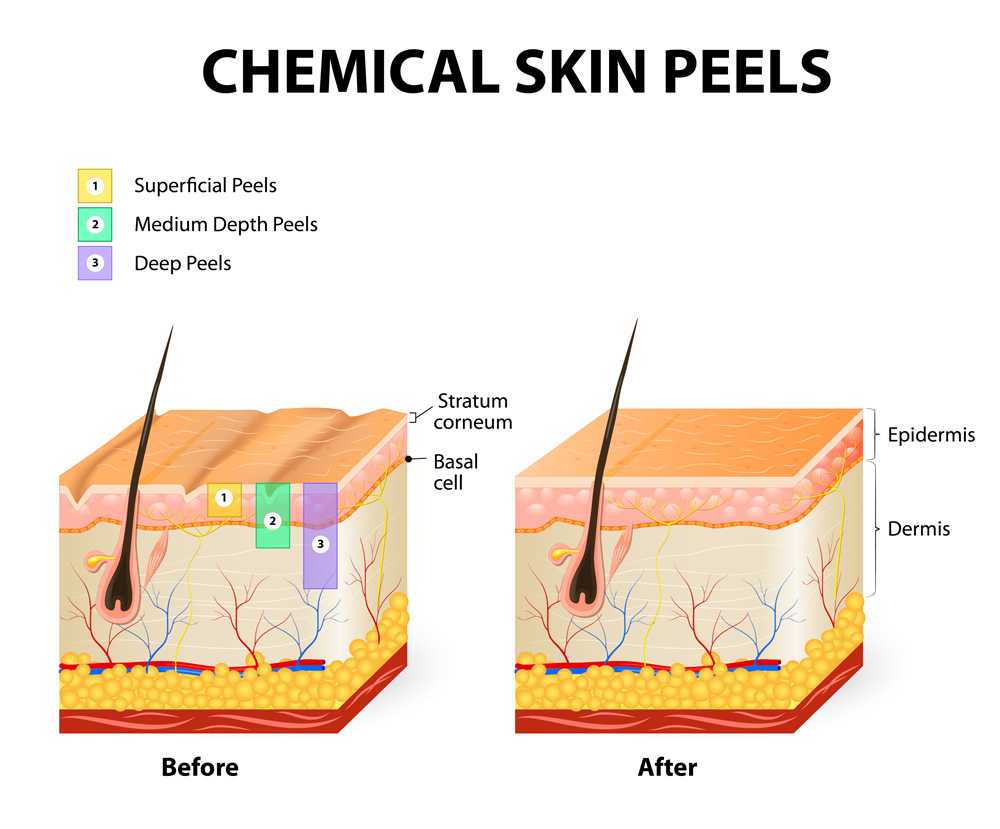
The peel that we used was The Perfect Peel by The Perfect Derma. The Perfect Peel is a medium depth peel, which is defined as a peel that does controlled damage to the epidermis, and papillary dermis. The epidermis is the top most layer of skin, and the dermis is below the epidermis. The papillary dermis is the top most region of the dermis.
The controlled damage is caused by using a strong acid (trichloroacetic acid or TCA). The Perfect Peel also contains kojic acid, retinoic acid, salicylic acid, phenol, and vitamin C to support in reducing wrinkles, stimulating collagen production, and correcting pigment problems. However, the real difference between The Perfect Peel and other peels is the addition of glutathione.
Glutathione is a powerful antioxidant that is found in every cell of the human body, and is the only antioxidant that is intracellular (acts within the cell). Glutathione’s role in a chemical peel is multi-faceted. It neutralizes free radicals, assists in the creation of collagen and elastin, helps with inflammation, and corrects pigmentation issues. Glutathione is even used intravenously in Asia to reduce skin pigmentation issues, and help with skin lightening.
The big take-away from this is The Perfect Peel is a top of line peel, using the latest skincare ingredients.
The Perfect Peel Experience
While I was expecting dragons, I have the say the application portion of the peel was not at all unpleasant. I washed my face, acetone was used to remove the oils on my face, and then the peel was scrubbed on (pretty vigorously) to my face and neck. There was an initial stinging, but the pain went away very quickly, perhaps within 15-30 seconds. The phenol in the chemical peel numbs the skin resulting is a painless peel, even though a strong acid is being applied to your face (PH of around 2). It just feels like someone is scrubbing your face.
My face received about 3 passes of scrubbing, with care taken around the eyes and sensitive areas. My neck received only one pass, and under my eyes one very light pass. My eye lids received no treatment because it is a very sensitive area, and no treatment was required in my case (Thanks DEJ Eye Cream!!!). The whole process did not take long at all, about 15 minutes. My face was left with a slight orange color from the vitamin A or C, but it wasn’t too unappealing. Sort of like a spray tan. It actually looked good on me because i’m rather pale.
I was given instructions to not wash my face until the morning and received hydro-cortisone cream and chapstick, plus 2 towelette packets with a small amount of peel solution. These are to be used on the morning of day 2 and 3.
My day by day experience.
Day 1: Face slightly orange, but not embarrassingly so. Face also has a bouquet of chloraseptic.
Day 2: Face starting to tighten, and skin has a slight plasticy sheen.
Day 3: Peeling begins around my chin area (see pic).
Day 4: Peeling begins around my mid-face, but my forehead has still not peeled (see pic, notice shiney forehead). Using scissors to trim away skin, as pulling is a no-no.
Day 5: Forehead starting to peel. Face slightly itching, and corners of my mouth burned slightly from drying. I am starting to understand the point of the chapstick I was given, perhaps too late.
Day 7. Peel is complete. Baby soft skin has emerged. Time spent rubbing my own face increases.
Day 3 Peeling
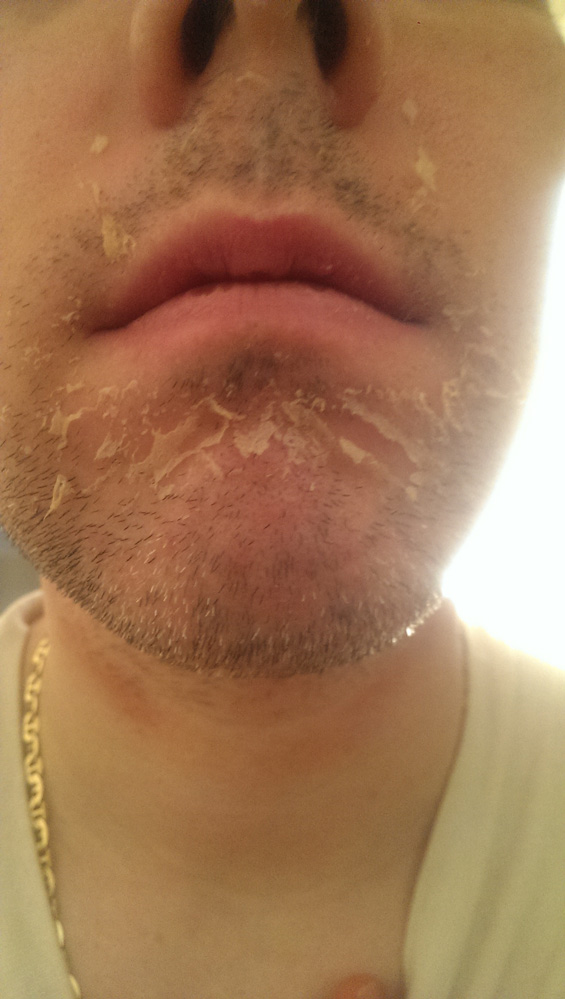
Image taken 3 days after undergoing The Perfect Peel with cell phone camera.
Day 4 Peeling

Image taken 4 days after undergoing The Perfect Peel with cell phone camera.
The Perfect Peel Results
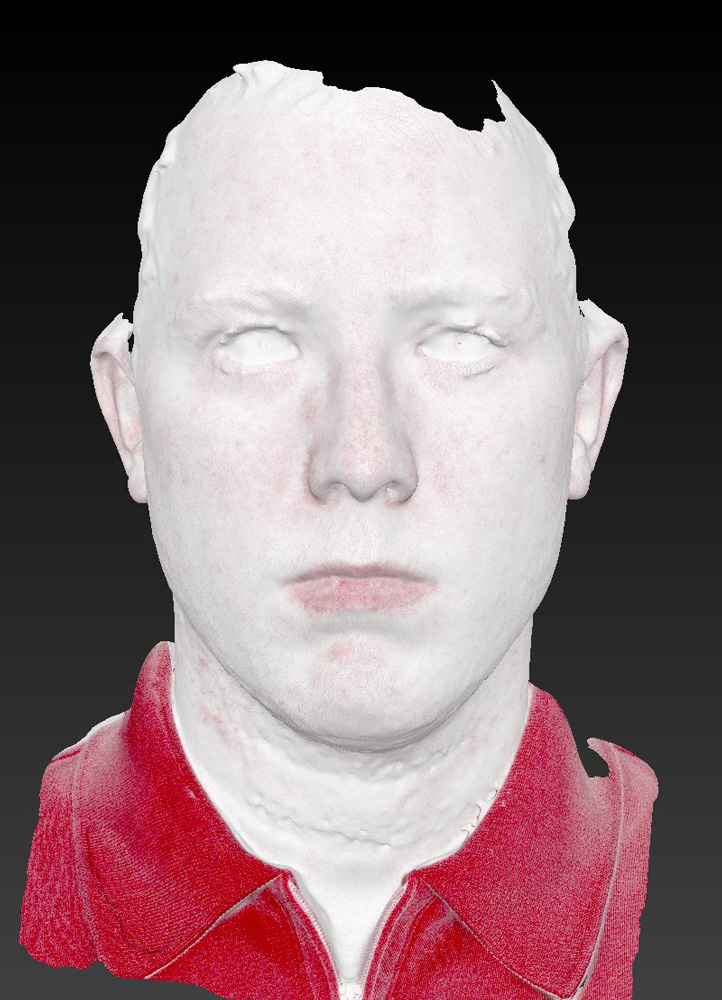
I wasn’t expecting dramatic results, as I didn’t have acne scaring, sun damage, hyper-pigmentation or fine lines and wrinkles. If I did have one skin complaint it was that the pore sizes on my nose were larger than desired. I took before and after pictures using a 3D camera, mainly because the software has a great feature where it shows the red pigmentation of the skin.
If you look at the red pigmentation images below you will notice a significant decrease in red spots and blemishes on my skin. While this may not be noticeable in the normal pictures, the filter really shows some great results. I noticed a much more even skin tone, and got compliments on my pores (I kid you not). Mostly people thought the pores on my cheeks looked much better, and my forehead was more smooth and even. I think my nose looked better as well. My skin also felt great and still does. I am currently 1 month out. I am definitely glad I did the peel, and will certainly try it again in the future. If you have any questions or comments about my experience, feel free to ask. I have additional before and after pictures which I may upload at a later day.
Before The Perfect Peel
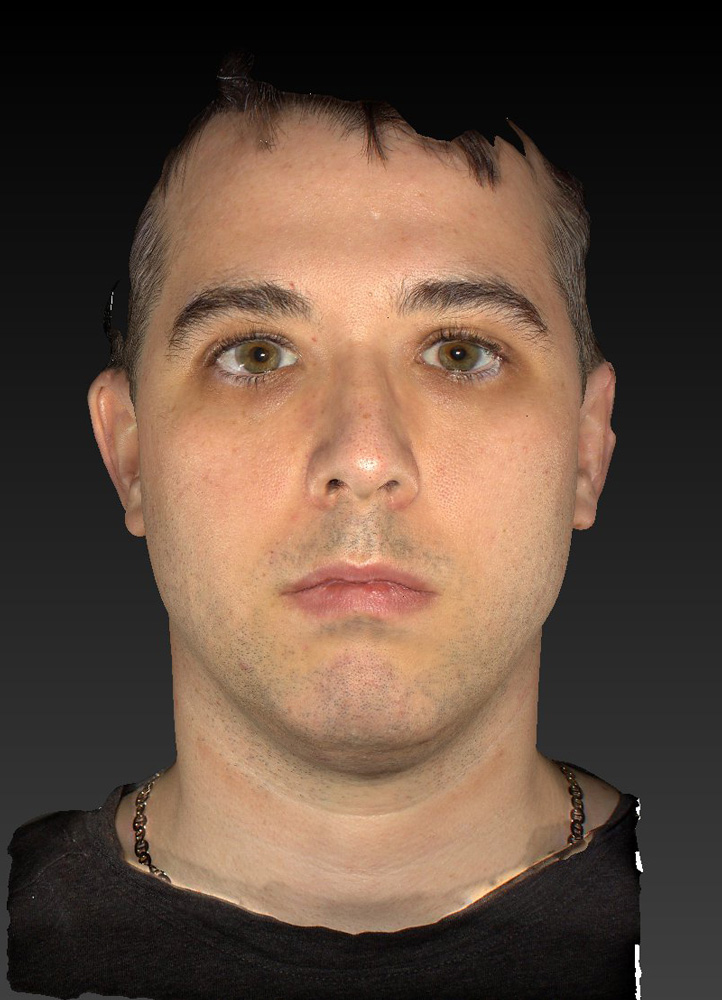
Image taken just prior to undergoing The Perfect Peel with Canfield Vectra H1 3D camera, and flattened to 2D.
After The Perfect Peel
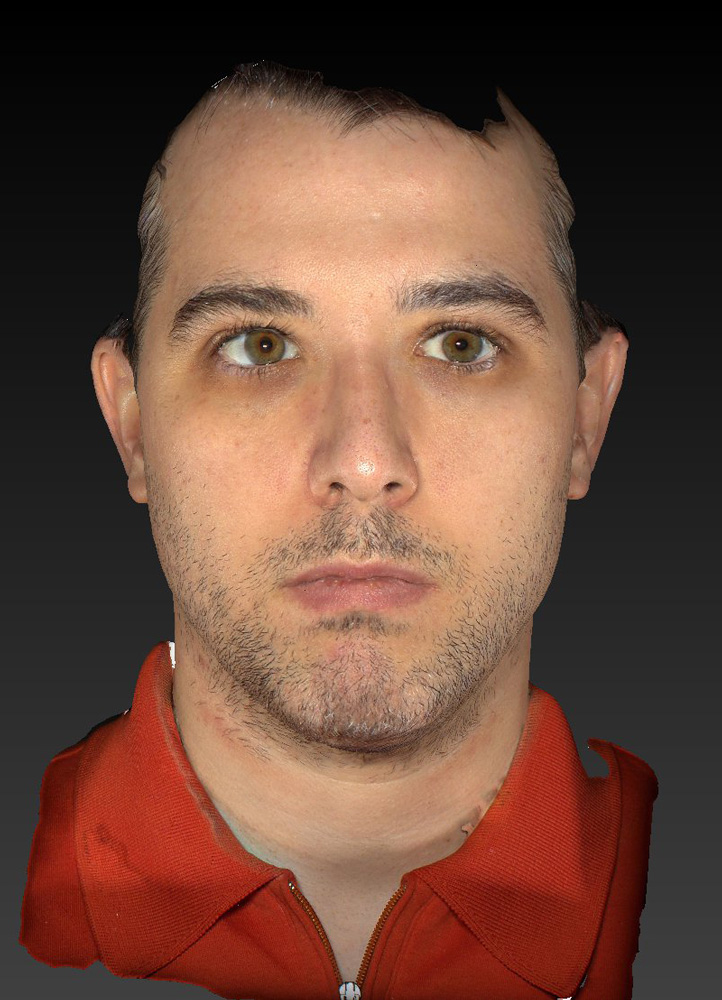
Image taken one week after undergoing The Perfect Peel with Canfield Vectra H1 3D camera, and flattened to 2D.
Before The Perfect Peel (Reds)
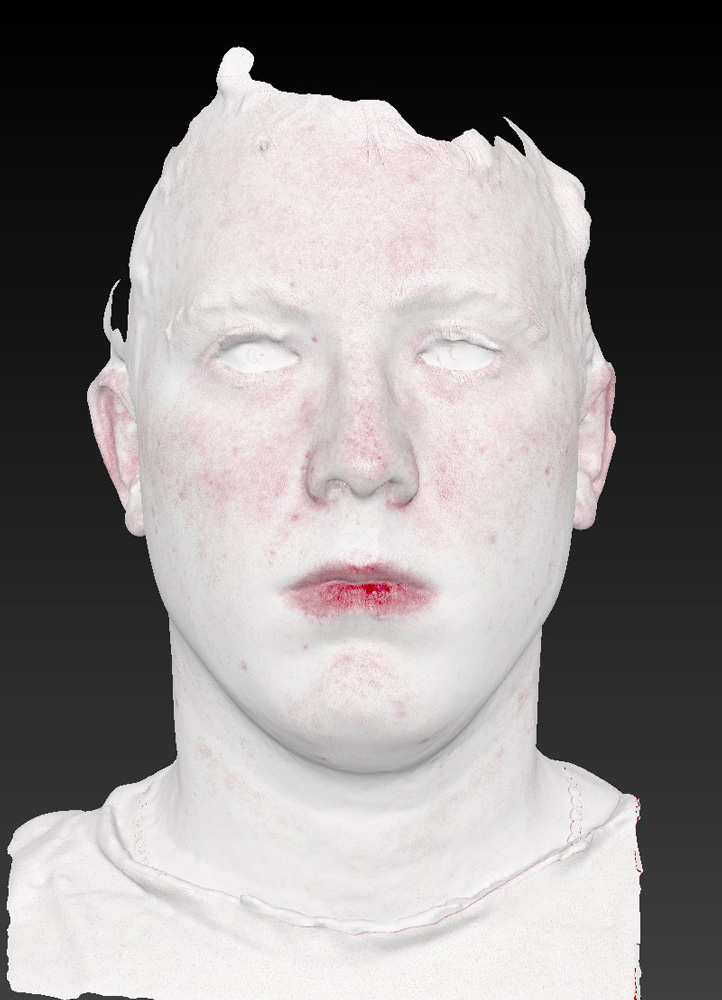
Image taken just prior to undergoing The Perfect Peel with Canfield Vectra H1 3D camera, and flattened to 2D. Filter to highlight red pigmentation issues.
After The Perfect Peel (Reds)